This page contains a step-by-step quick start tutorial that will introduce you to the Dialogue System. At the end of the tutorial, you will know how to create dialogue databases and make conversations happen in a scene.
If you haven't already installed the Dialogue System, see How To Install the Dialogue System.
Create a New Scene
We'll create a scene with a player character (PC) and non-player character (NPC).
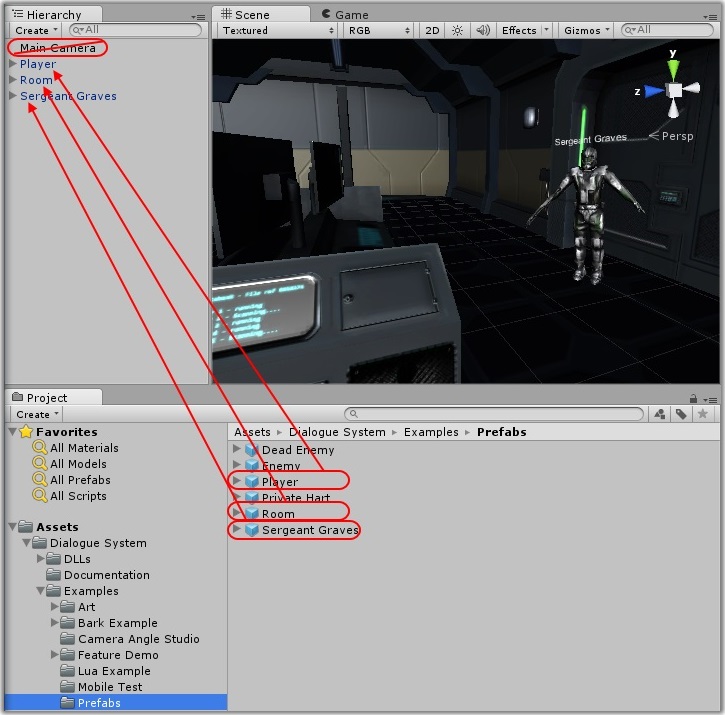
- Select File > New Scene.
- From the
Examples/Prefabs folder, drag these prefabs into the Hierarchy panel:
RoomPlayerSergeant Graves
- Delete Main Camera. The Player already has a camera.
Write the Conversation
The Dialogue System provides several methods to write content. In this tutorial, we'll use the built-in Dialogue Editor. The Quick Start folder also contains a Chat Mapper project file and an exported Chat Mapper XML file. In your own projects, you can use Chat Mapper or any of the other converters if you prefer.
If you want to skip these steps, use the dialogue database in the Final subfolder.
- Right-click in the Project view and select Create > Dialogue System > Dialogue Database. This will create a new dialogue database asset named
New Dialogue Database.
- Rename the dialogue database
Quick Start.
- Double-click the dialogue database to open the Dialogue Editor.
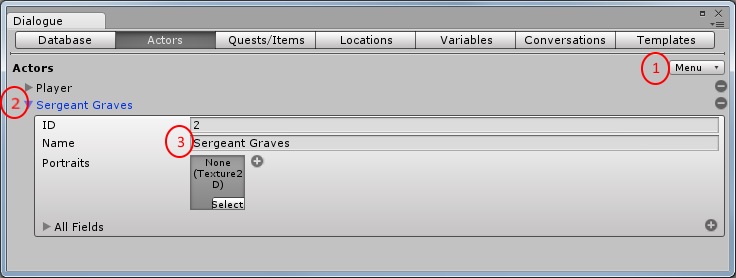
- Click on the Actors tab. This is where you'll define participants in conversations. Every dialogue database starts with an actor named
Player that represents the PC.
- In the upper right of the panel, select Menu > New Actor. This will create a new actor named
New Actor 2.
- Click the foldout next to
New Actor 2.
- Change the Name to
Sergeant Graves.
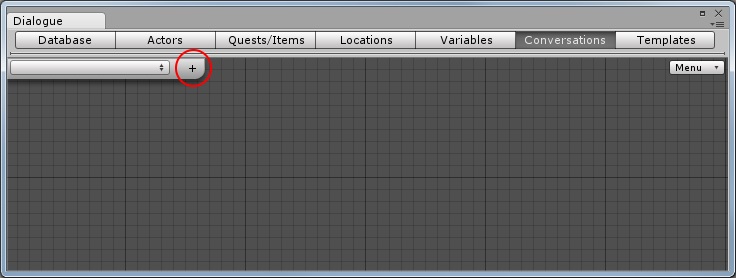
- Click on the Conversations tab.
- Click the
+ (plus sign) in the upper left of the panel. This will create a new conversation named New Conversation 1.
- In the Inspector, change the conversation's Title to
Quick Start. We'll use this title to reference the conversation later. Notice that the Actor is Player and the Conversant is Sergeant Graves.
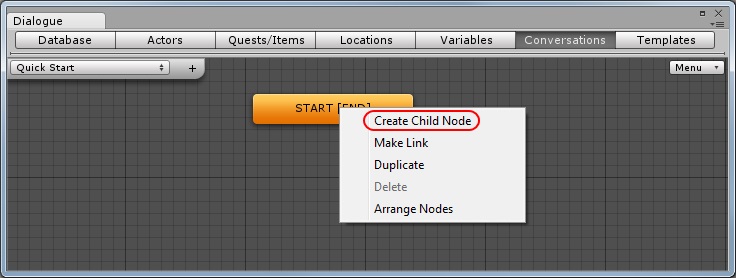
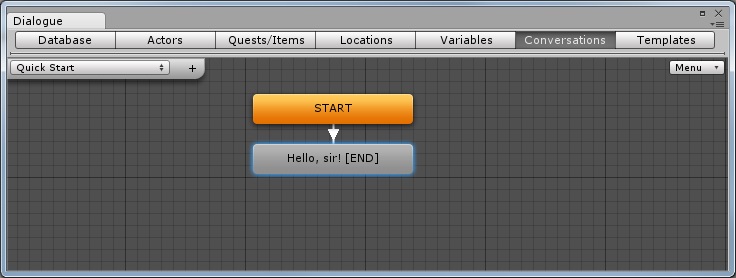
- Every conversation starts with a START dialogue entry node. Right-click on the START node and select Create Child Node. This will create a new dialogue entry new named
New Dialogue Entry.
- Click on
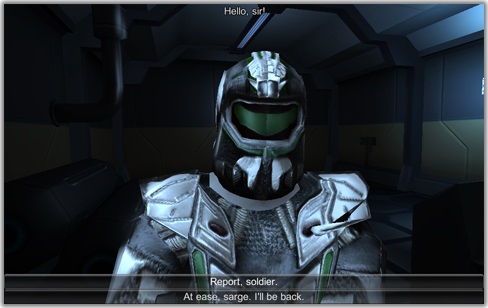
New Dialogue Entry. In the Inspector, change Dialogue Text to "Hello, sir!".
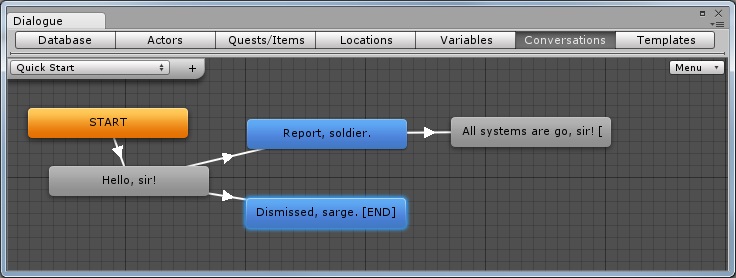
- Continue making child nodes to make your conversation look like the image shown below. The nodes have been repositioned to keep the screenshot size small. Notice that PC nodes are blue and NPC nodes are gray.
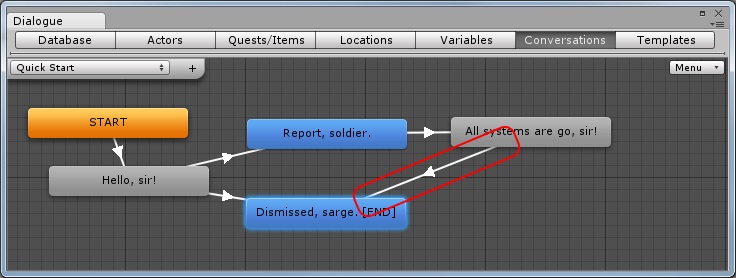
- Right-click on the
"All systems are go, sir!" node and select Make Link. Then connect the node to the "Dismissed, sarge." node. Make Link allows you to link back to existing nodes.
- Close the Dialogue Editor window.
More information: How to Edit Dialogue Databases
Add a Dialogue Manager
The Dialogue Manager coordinates activity between the dialogue database and actors. In this step, we'll set it up.
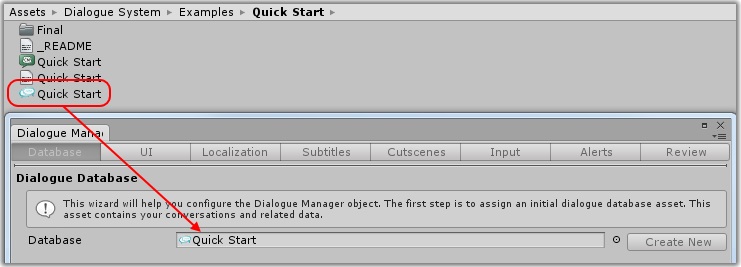
- Select Window > Dialogue System > Wizards > Dialogue Manager. This will open the Dialogue Manager Setup Wizard and add a Dialogue Manager GameObject to the scene.
- Assign the
Quick Start dialogue database to the Database field and click Next.
- On the next page, you can assign a dialogue UI. We'll stick with the default UI for now. Click Next.
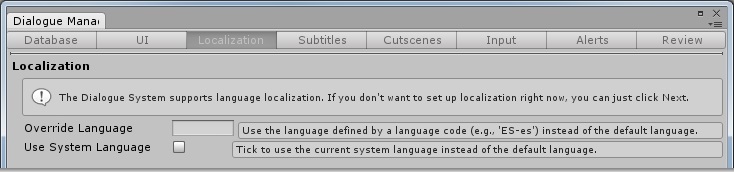
- On the next page, you can specify language localization settings. We'll stick with the defaults for now. Click Next.
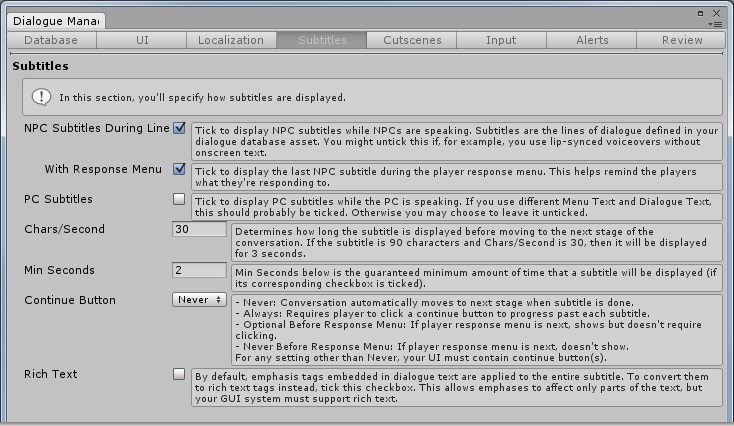
- On the next page, you can specify how subtitles are displayed. We'll stick with the defaults for now. Click Next.
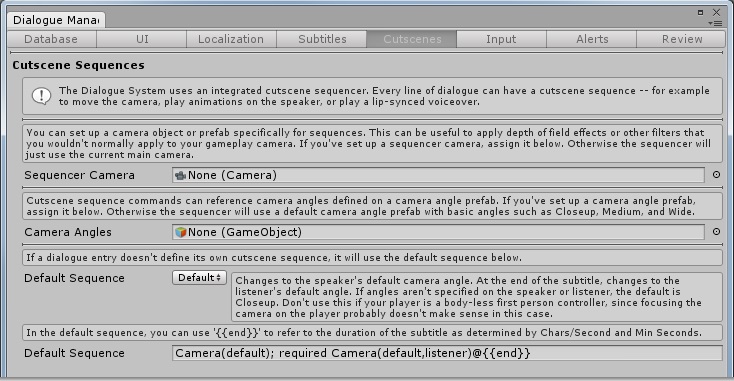
- On the next page, you can specify how cutscene sequences work in dialogue entries. The default value for Default Sequence is to move the camera into closeups of the actors. We'll stick with this default for now. Click Next.
- On the next page, you can specify player input settings. We'll stick with the defaults for now. (The default is to always show the response menu even if there's only one response, and to allow the Escape key to cancel sequences and conversations.) Click Next.
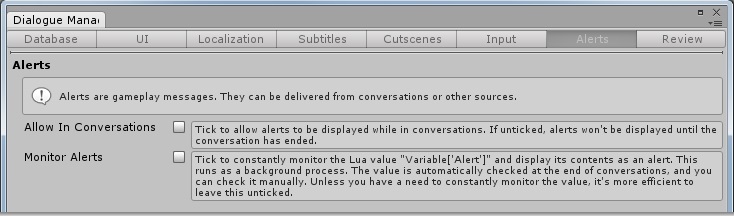
- On the next page, you can specify gameplay alert message settings. We'll stick with the defaults for now. Click Next.
- We're finally at the Review page, which shows a summary of a few of the important settings. Click Finish to close the wizard.
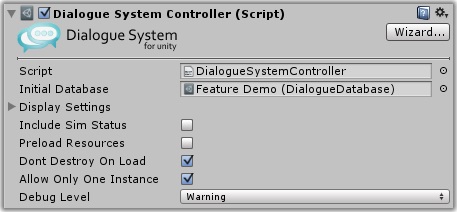
- In the Hierarchy view, click on the Dialogue Manager GameObject. The Inspector view should look similar to this:
- (Optional) Change the Debug Level to Info. This will print trace information in the console so you see what's happening internally.
More information: How to Set Up the Dialogue Manager
Player GameObject
In this step, we'll configure the PC to allow the player to move him around and "use" other GameObjects such as our NPC, Sergeant Graves.
- In the Hierarchy view, select Player. This prefab has already been configured using the Player Setup Wizard.
- In the Inspector view, note the following components:
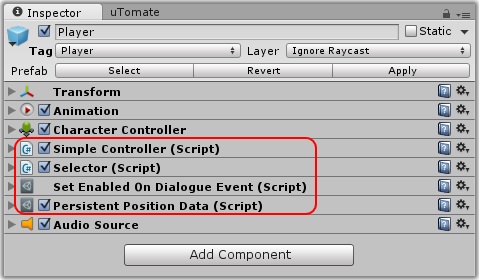
- Simple Controller provides rudimentary movement control. This optional component is an easy way to test a player. In your own project, you can replace it with a more sophisticated control system if you prefer.
- Selector gives the player the ability to select "usable" GameObjects and send them "OnUse" messages. A "usable" GameObject is one that has a Usable component. In this prefab, the Selector is configured to target GameObjects in the center of the screen and send "OnUse" when the player presses the space bar. More information: Selector or Proximity Selector
- Set Enabled On Dialogue Event is a versatile component that can enable and disable other components when dialogue events (such as conversations) occur. In this prefab, it's configured to disable Simple Controller, Selector, and Smooth Camera With Bumper (located on a child GameObject) when conversations start. When conversations end, it will re-enable the components. This prevents the player from controlling the camera or walking away during conversations. This is entirely a design decision; if you want the player to be able to move during conversations, you don't have to disable these components. More information: Set Enabled On Dialogue Event
- Persistent Position Data saves the GameObject's position and rotation when saving games and changing levels. More information: Persistent Position Data
More information: How to Set Up the Player (PC)
NPC GameObject
In this step, we'll configure our NPC, Sergeant Graves, to start a conversation when he receives an "OnUse" message from the PC.
- In the Hierarchy view, select Sergeant Graves. This prefab is mostly configured. We'll use the NPC Setup Wizard to finish the configuration.
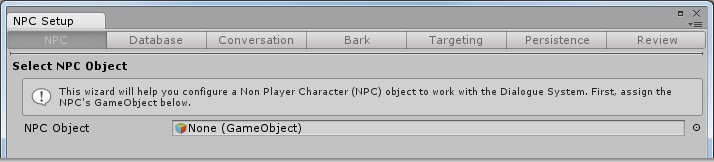
- Select Window > Dialogue System > Wizards > NPC Setup. This will open the NPC Setup Wizard.
- Assign Sergeant Graves to the NPC Object field and click Next.
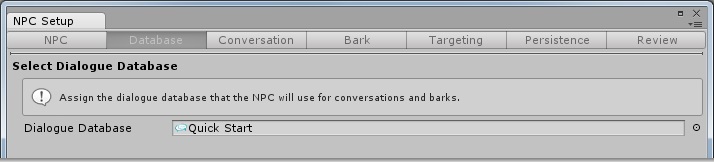
- On the next page, assign the
Quick Start dialogue database and click Next.
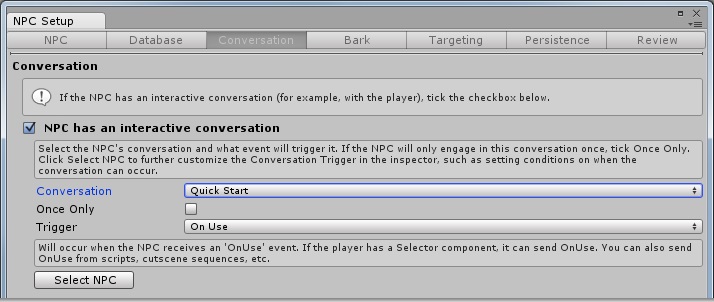
- On the next page, tick NPC has an interactive conversation.
- Set the Conversation to Quick Start.
- We'll leave Trigger set to On Use. This means that Sergeant Graves will start the conversation when he receives an "OnUse" message.
- Click Next.
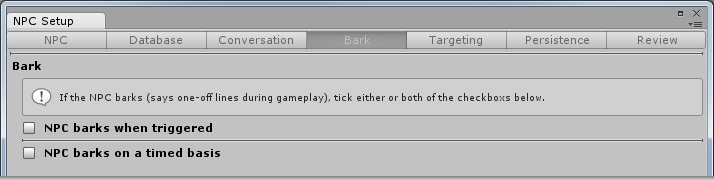
- On the next page, you can set up barks. Sergeant Graves won't have any barks, so click Next.
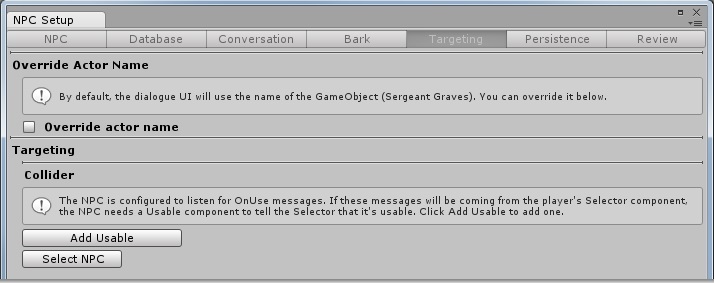
- The next page contains settings that allow you to override the actor's name and configure targeting.
- By default, the Dialogue System will use the name of the GameObject as the actor's name. That's fine for us, since the GameObject is named Sergeant Graves.
- The player's Selector is configured to send a raycast to the center of the screen to detect "usable" GameObjects. Raycasts detect colliders. Sergeant Graves already has a Character Controller, which is a type of collider, so it will be noticed by the Selector's raycast.
- We want mark Sergeant Graves as "usable" – that is, capable of receiving "OnUse" messages from the player's Selector. Click the Add Usable button to add a Usable component. This marks the GameObject as "usable". We'll stick with the default values.
- Click Next.
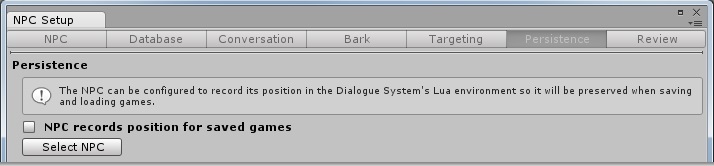
- On the next page, you can specify that the GameObject should save its position in saved games and between level changes. We'll skip this step, so click Next.
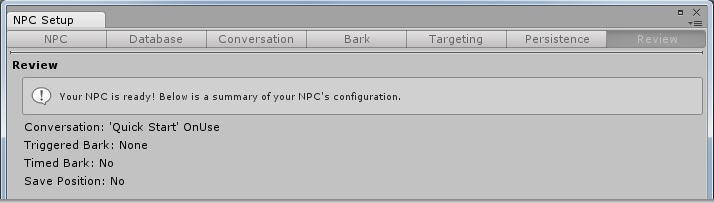
- We're at the final Review page. Click Finish to close the wizard.
More information: How to Set Up NPCs
Play!
Now that we've set up the dialogue database, Dialogue Manager, Player, and NPC, we're finally ready to play the scene!
- Play the scene.
- Use the mouse to rotate your character and the 'W' key to move forward.
- Move close to Sergeant Graves and press the space bar to start the conversation.
Suggested Next Steps
Here are some ideas for experimenting with the scene to learn more about the Dialogue System and practice what you've learned:
- Use the Dialogue Editor to add more nodes to the conversation, or try converting the XML file using the Chat Mapper Converter
- The default UI is very plain. Assign a different dialogue UI prefab from one of the folders inside
Prefabs/Unity Dialogue UIs to the Dialogue UI property of the Dialogue Manager's Display Settings.
- Add another NPC and another conversation.
You can also examine the Example Scenes or read the Overview.
<< Quick Start | Quick Start Instructions >>