 |
|
The PC is usually represented by an in-game avatar, although this isn't absolutely required for the Dialogue System. This page contains instructions that you can follow to set up a PC avatar.
In addition to the typical Unity components such as a renderer and a collider, PCs in the Dialogue System usually have these types of components:
| Component Type | Description |
|---|---|
| Movement Controllers | Allow the player to move the PC. You can use one of the controllers provided in the Dialogue System or your own controller |
| Camera Controllers | Allow the player to control the camera. The Dialogue System includes an open-source camera controller from the Unity community wiki, but you can also use your own |
| Selectors | Allow the player to target and "use" NPCs and interactive objects |
| SetEnabled Controllers | Optionally disable movement and camera controllers during conversations so the player can't walk away mid-conversation |
| Modifiers | Modify how the player works in the Dialogue System, such as specifying the player's default camera angle |
| Persistent Data | Saves PC info in saved games and between level changes. Only applicable if you use the Save System |
The Player Setup Wizard will automatically add the appropriate Dialogue System components to your PC to give it the behavior that you specify. This is the easiest way to set up your PC.

To use the wizard, select Window > Dialogue System > Wizards > Player Setup.
Each page of the wizard contains an explanation of the options available to you.
Configure each page as appropriate for your project. Here are some notes:
The rest of this page describes the component types in more detail and explains how to add them manually.
The Dialogue System isn't tied to any control system, and it works with 2D and 3D projects. It provides some simple 3D movement controllers to let you quickly get a scene working. You can always swap out the control scripts later with your own.
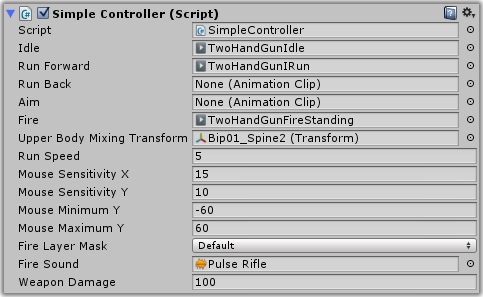
The Simple Controller is a basic third-person 3D controller that uses the legacy animation system. It allows the player to run around and optionally fire a gun.
More information: Simple Controller
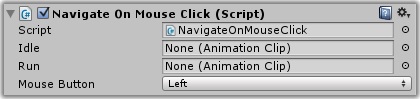
The Navigate On Mouse Click controller uses a NavMesh to move the PC to where the player clicks with the mouse.
More information: Navigate On Mouse Click
The Dialogue System includes the Unity Community's Smooth Camera With Bumper script written by Daniel P. Rossi.
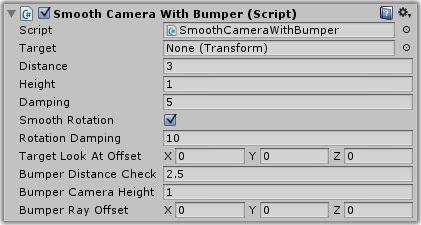
The Smooth Camera With Bumper follows the player, moving closer to the player as necessary if the player backs up against a wall.
More information: Smooth Camera With Bumper
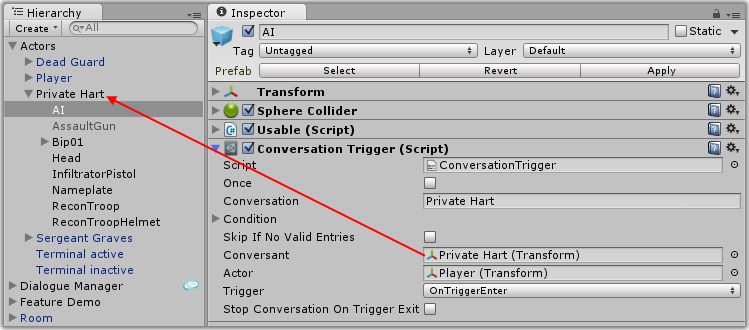
Selectors provide a way for the player to trigger interactions. Selectors are not the only way to trigger interactions, but they are a convenient method to allow the player to target an interactive NPC/object (called a "usable") and trigger it.
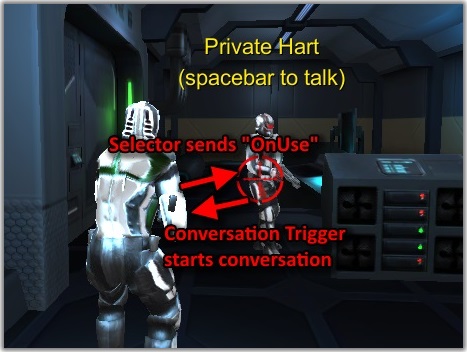
The Selector finds targets by raycasting from a specified source such as the current mouse position or the center of the screen. Once the player has targeted a usable, pressing a key or button will send an "OnUse" message to it. The usable can handle the "OnUse" message by starting a conversation, playing a cutscene sequence, etc.
More information: Selector
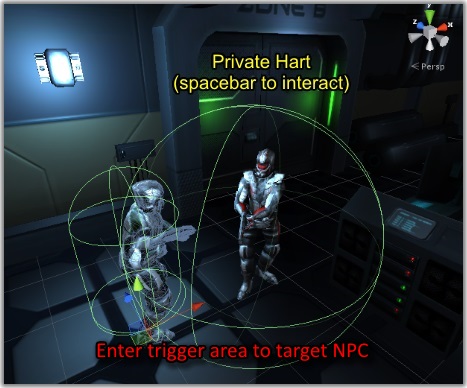
The Proximity Selector allows a player to target a usable by entering its trigger area. It works with 2D and 3D triggers. Once the player has targeted a usable, pressing a key or button will send an "OnUse" message to it. The usable can handle the "OnUse" message by starting a conversation, playing a cutscene sequence, etc.
More information: Proximity Selector
When the PC is in a conversation, you will often want to prevent the player from moving or controlling the camera, especially if the conversation contains cutscene sequences that control the camera.
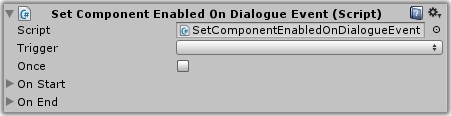
The Set Component Enabled On Dialogue Event component can be configured to disable player control components when a conversation starts, and then re-enable them when the conversation ends.
More information: Set Component Enabled On Dialogue Event
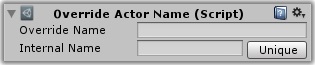
By default, conversations use the name of the PC GameObject as the PC's name. This name is used in portrait labels and is the value assigned to Variable["Actor"]. You can specify a different name by adding an Override Actor Name component.
More information: Override Actor Name

Every actor has a default camera angle that cutscene sequences can reference. Unless specified otherwise, the angle is "Closeup". You can change the PC's angle by adding a Default Camera Angle component. For example, if the PC is a small child, you might want the default angle to be "Down" to convey that others are taller than the PC and have to look down.
More information: Default Camera Angle
Persistent data components are only applicable if you use the Save System. They're described in detail in the Save System section.
You can put Components On Child GameObjects.