 |
|
This page describes how to set up the Dialogue System with Invector's Third Person Controller. (Invector's Third Person Controller is required.)
Third Person Controller copyright © Invector.
This integration correctly pauses the Invector character during conversations.
To set up your character:
To set up interactable NPCs:
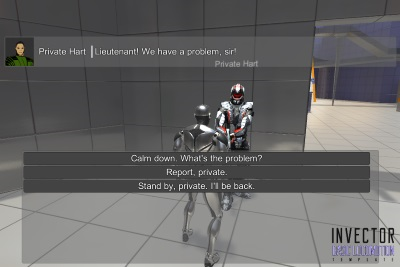
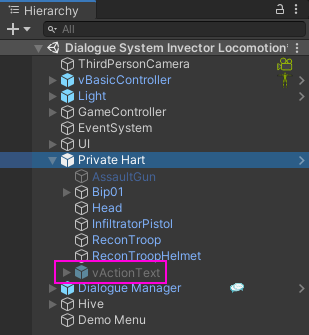
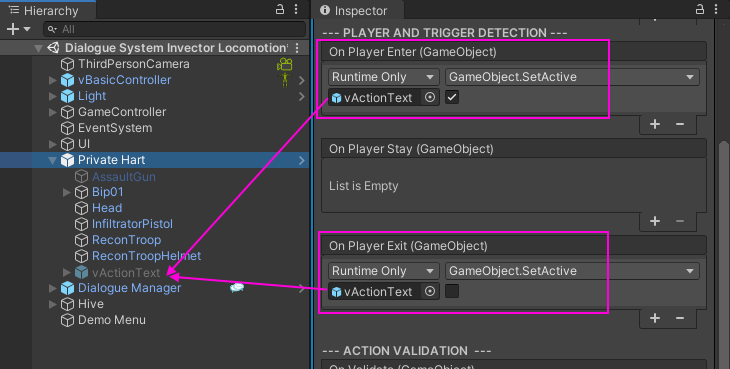
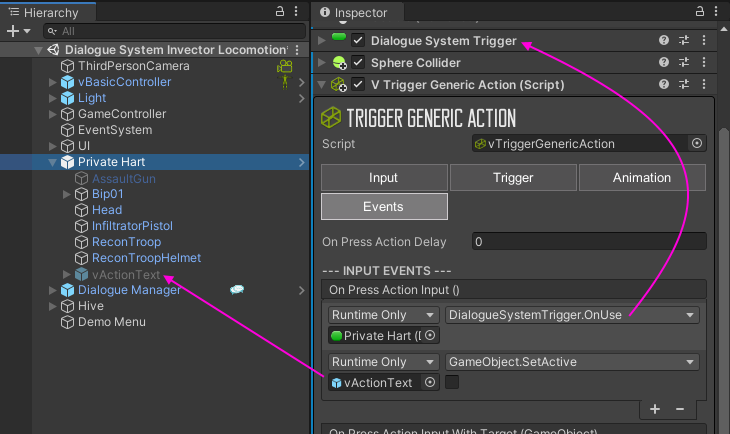
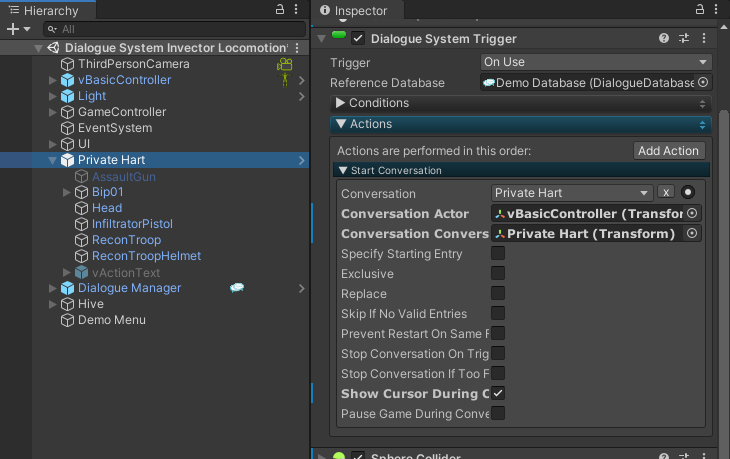
See Private Hart in the example scene for an example of how to set up an NPC to start a conversation using Invector's interaction system. It was set up using these steps:
Under some Invector configurations, it's possible that Invector will change the collider at runtime, causing the character to fall through the floor. In this case, add the components above to an empty child GameObject instead.
If Invector's interaction system doesn't show the vActionText when you approach the NPC, make sure the NPC has a trigger collider and that the GameObject is on a layer that the player's collider will detect.
On your player, remember to add a Dialogue System Invector Bridge component as described in the Setup section above.
The example scene demonstrates how to interact with an NPC and start a conversation.
The Dialogue System Invector Bridge component adds these Lua functions, which operate on the player:
| Lua Function | Description |
|---|---|
| vGetHealth() | Returns the player's current health. |
| vGetMaxHealth() | Returns the player's max health. |
| vAddHealth(amount:int) | Increases the player's current health. |
| vAddMaxHealth(amount:int) | Increases the player's max health. |
| vAddItemByID(itemID:int, amount:int, autoEquip:bool) | Gives items to the player. (See below.) |
| vRemoveItemByID(itemID:int, amount:int) | Removes items from the player. (See below.) |
| vGetItemCount(itemID:int) | Returns the amount of an item the player has. (See below.) |
In the '...' Lua wizard dropdowns, these functions are available in Custom > Invector.
Some Invector controllers feature an inventory system. If you want to give items to the player during a conversation, add the scripting define symbol USE_INVECTOR_INVENTORY to Edit → Project Settings → Player → Other Settings → Scripting Define Symbols. This will add the following Lua functions:
vAddItemByID( itemID:int, amount:int, autoEquip:bool )
vRemoveItemByID( itemID:int, amount:int )
vGetItemCount( itemID:int ) (Note the 'v' at the front of the function names.) You can use vAddItemByID and vRemoveItemByID in your conversations' Script fields, such as:
If you're using Invector's example items, 3 is the ID for the sword. So the command above adds 1 sword to the player and auto-equips it.
You can use vGetItemCount in your conversations' Conditions fields, and in Dialogue System Trigger Conditions, to check how many of an item the player has.
If you will use the Dialogue System's Save System to save and load games or change scenes (e.g., using the LoadLevel() sequencer command), untick your character's Use Instance checkbox. Otherwise you will get duplicates of your character.
Note: Some versions of Invector controllers do not have a Use Instance checkbox.
Also locate the inventory UI prefab that your character will use (e.g., Inventory_ShooterMelee) and untick its Don't Destroy On Load checkbox.
To save a character's current and max health, add an Invector Stats Saver component.
To save a character's inventory, add an Invector Inventory Saver component. Requires the USE_INVECTOR_INVENTORY scripting define symbol to be set. This saver is a work in progress. It saves and restores the character's inventory but doesn't yet restore items to their original equip areas.
If you add both saver components, assign unique keys to each one.
To handle respawning, add a script similar to the one below to the player GameObject. It replaces Invector's default respawn functionality with one that reloads from a saved game. If there is no saved game, it can do something else such as show a UI load game panel or return to the main menu. (See the comment at the bottom of the script.)
ReloadWhenDead.cs