This page describes how to set up the Dialogue System with Jeffrey A. Voigt's Lively Chat Bubbles. (Lively Chat Bubbles is required.)
Lively Chat Bubbles copyright © Jeffrey A. Voigt.
Lively Chat Bubbles Setup
- Import this package:
- Plugins ► Pixel Crushers ► Dialogue System ► Third Party Support ► Lively Chat Bubbles Support
- This will unpack files into this folder:
- Pixel Crushers ► Dialogue System ► Third Party Support ► Lively Chat Bubbles Support.
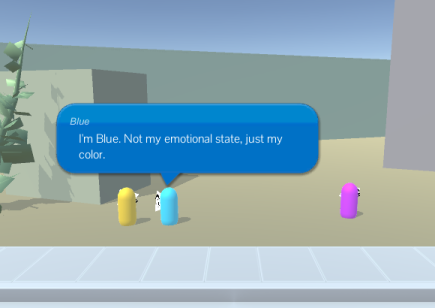
- Play the example scene in the Example subfolder to familiarize yourself with the integration. The three taller characters use Lively Chat Bubbles subtitle panels. The short, brown character (Dog) uses a Lively Chat Bubble Bark UI.
Lively Chat Bubbles Subtitle Panels
To use Lively Chat Bubbles for conversation subtitles:
- In your own scene, add a child GameObject to the character (e.g., named "Subtitle Panel").
- Add a Lively Chat Subtitle Panel component.
- Assign the inspector fields. (See the example scene for guidance.)
- If you assign a Chat Bubble Prefab, you can leave Chat Bubble unassigned, and vice versa.
- Optionally add a Button to the bubble if you want to use continue buttons. You don't have to hook up the OnClick() event. The integration will take care of it. To set it up so you can click the bubble to continue, add a Button whose Rect Transform anchors to cover the entire bubble, remove the child Text GameObject, set the Image's alpha to zero (invisible), and set the Button's Transition Type to None.
- If you want to click anywhere on the screen, the simplest way is to point your Lively Chat Bubble Subtitle Panel's Continue Button to a continue button in a different canvas, typically a screen space canvas. The continue button can be transparent and cover the entire screen.
- Add a Dialogue Actor component to the character. Set Dialogue UI Settings > Subtitle Panel Number to Custom, and assign the Lively Chat Subtitle Panel.
Portrait Images
To show the actor's portrait image in the bubble:
- Rplace the ChatBubble prefab's ChatBubble component with a ChatBubbleWithPortrait component.
- Add a UI Image to the bubble.
- Assign the UI Image to the ChatBubbleWithPortrait component's Portrait Image field.
Lively Chat Bubbles Barks
To use Lively Chat Bubbles for barks:
- On your character, add a child GameObject (e.g., named "Bark UI").
- Add a Lively Chat Bubbles Bark UI component.
- Assign the inspector fields. (See the Dog character in the example scene for guidance.)
- If you assign a Chat Bubble Prefab, you can leave Chat Bubble unassigned, and vice versa.
Note: Lively Chat Bubbless uses its own typewriter effect, not the Dialogue System's typewriter effect. The Lively Chat Bubbles typewriter effect does not support RPG Maker-style codes such as \..
<< Third Party Integration